Table of Contents
- Introduction
- Assemble the Parts
- Configure the Radio
- Wire up the Circuit
- Use it!
1) Introduction
When it comes to analog input, it doesn't get any easier than a basic potentiometer. Nicknamed "pots," these components are essentially variable resistors, which let us, with a twist of their shaft, alter the amount of voltage that goes through their center pin. If you've ever adjusted a volume dial or a picture control dial on an older television set, chances are, you were using a pot.
XBee radios have two analog inputs and therefore can be connected directly to up to two potentiometers. With a little bit of configuration, the radios can transmit the level of the input voltage to the PWM output pins on the receiving radio.
2) Assemble the Parts
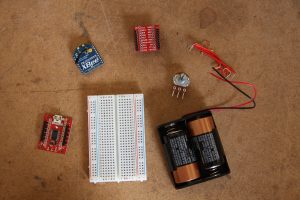
To hook up a potentiometer to an XBee, you'll need:
- XBee 802.15.4 Radio
- 2K potentiometer
- Breadboard
- Jumper cables
- XBee Breakout Board - for your circuit.
- XBee Explorer USB - for programming your radio.
- A DC power source, 2.8 - 3.3V - We'll be using two C batteries in a battery holder from Radio Shack.
4) Wire up the Circuit
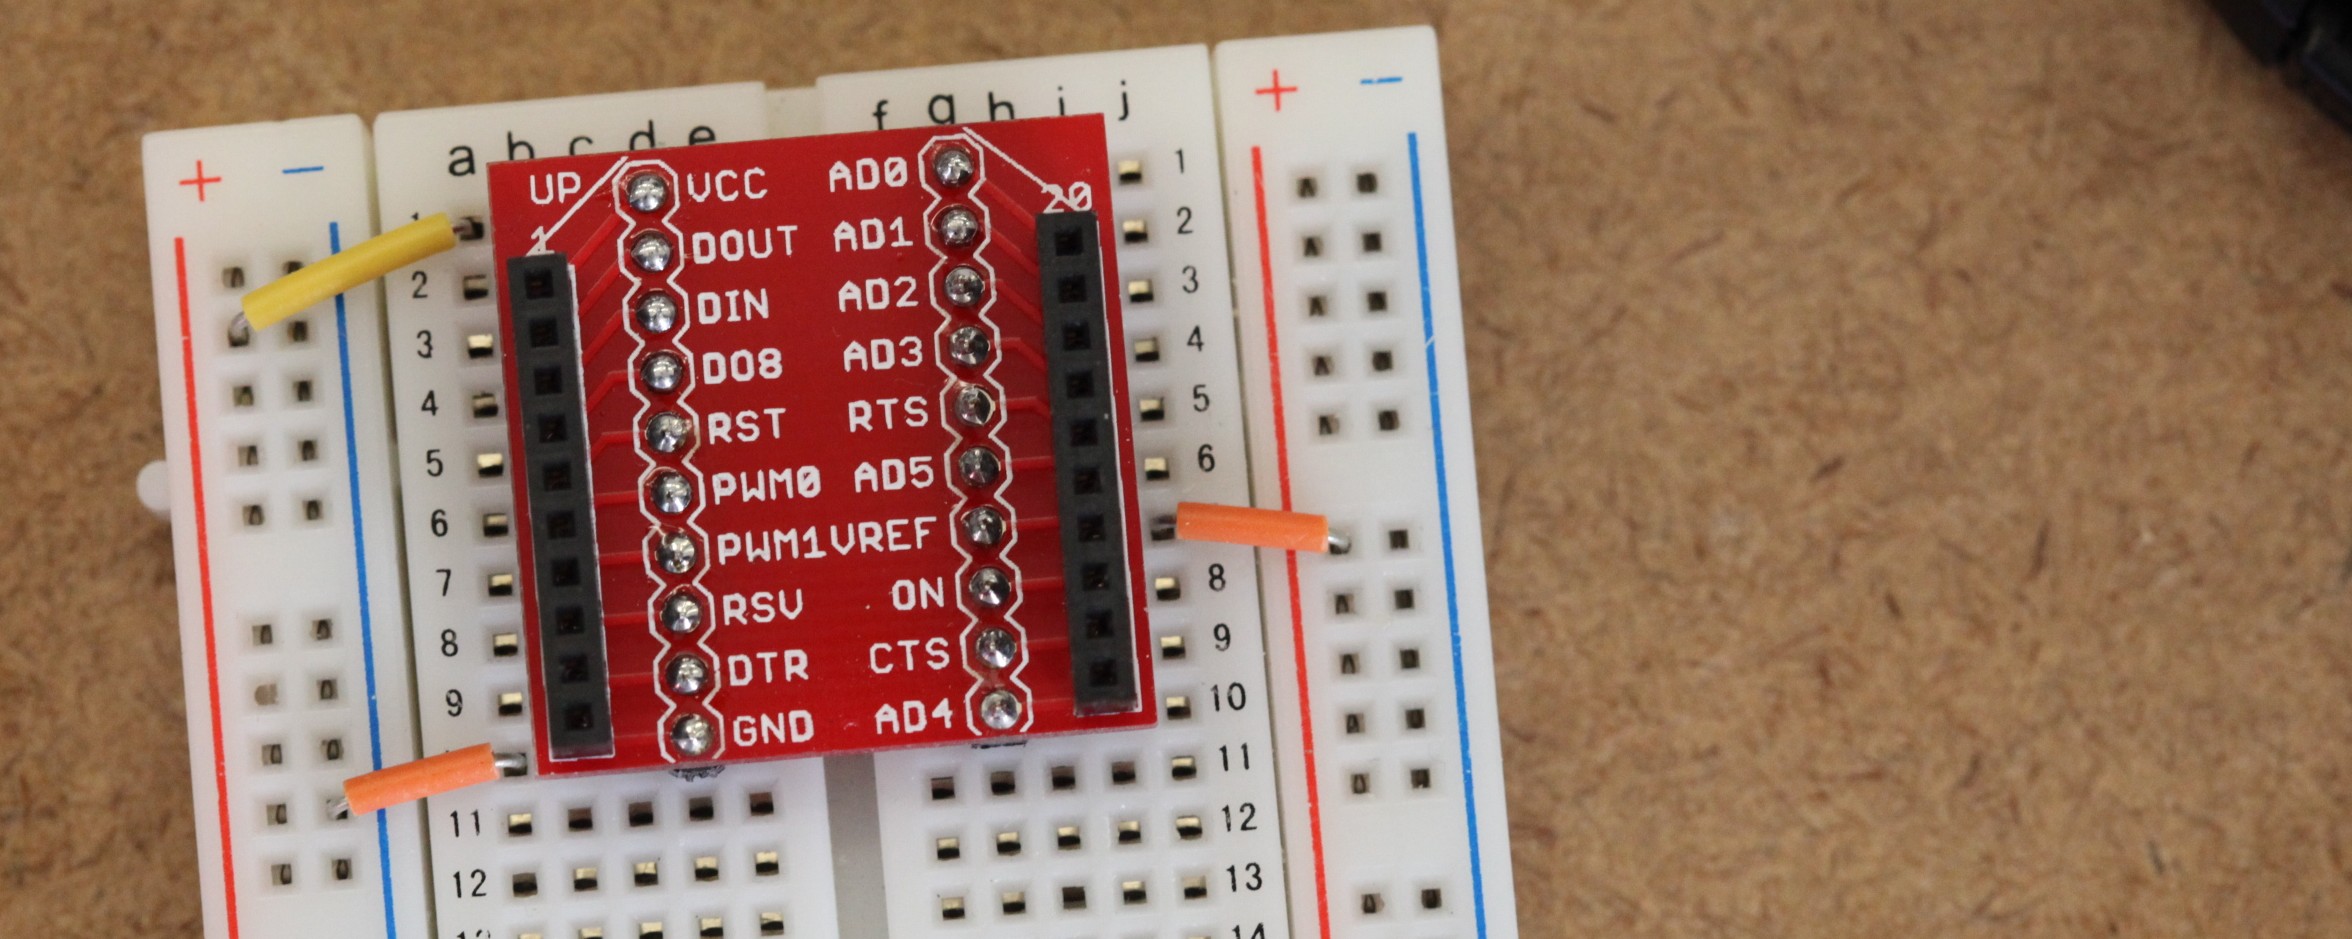
- Place the XBee adapter into the breadboard and wire up the power buses to each other.
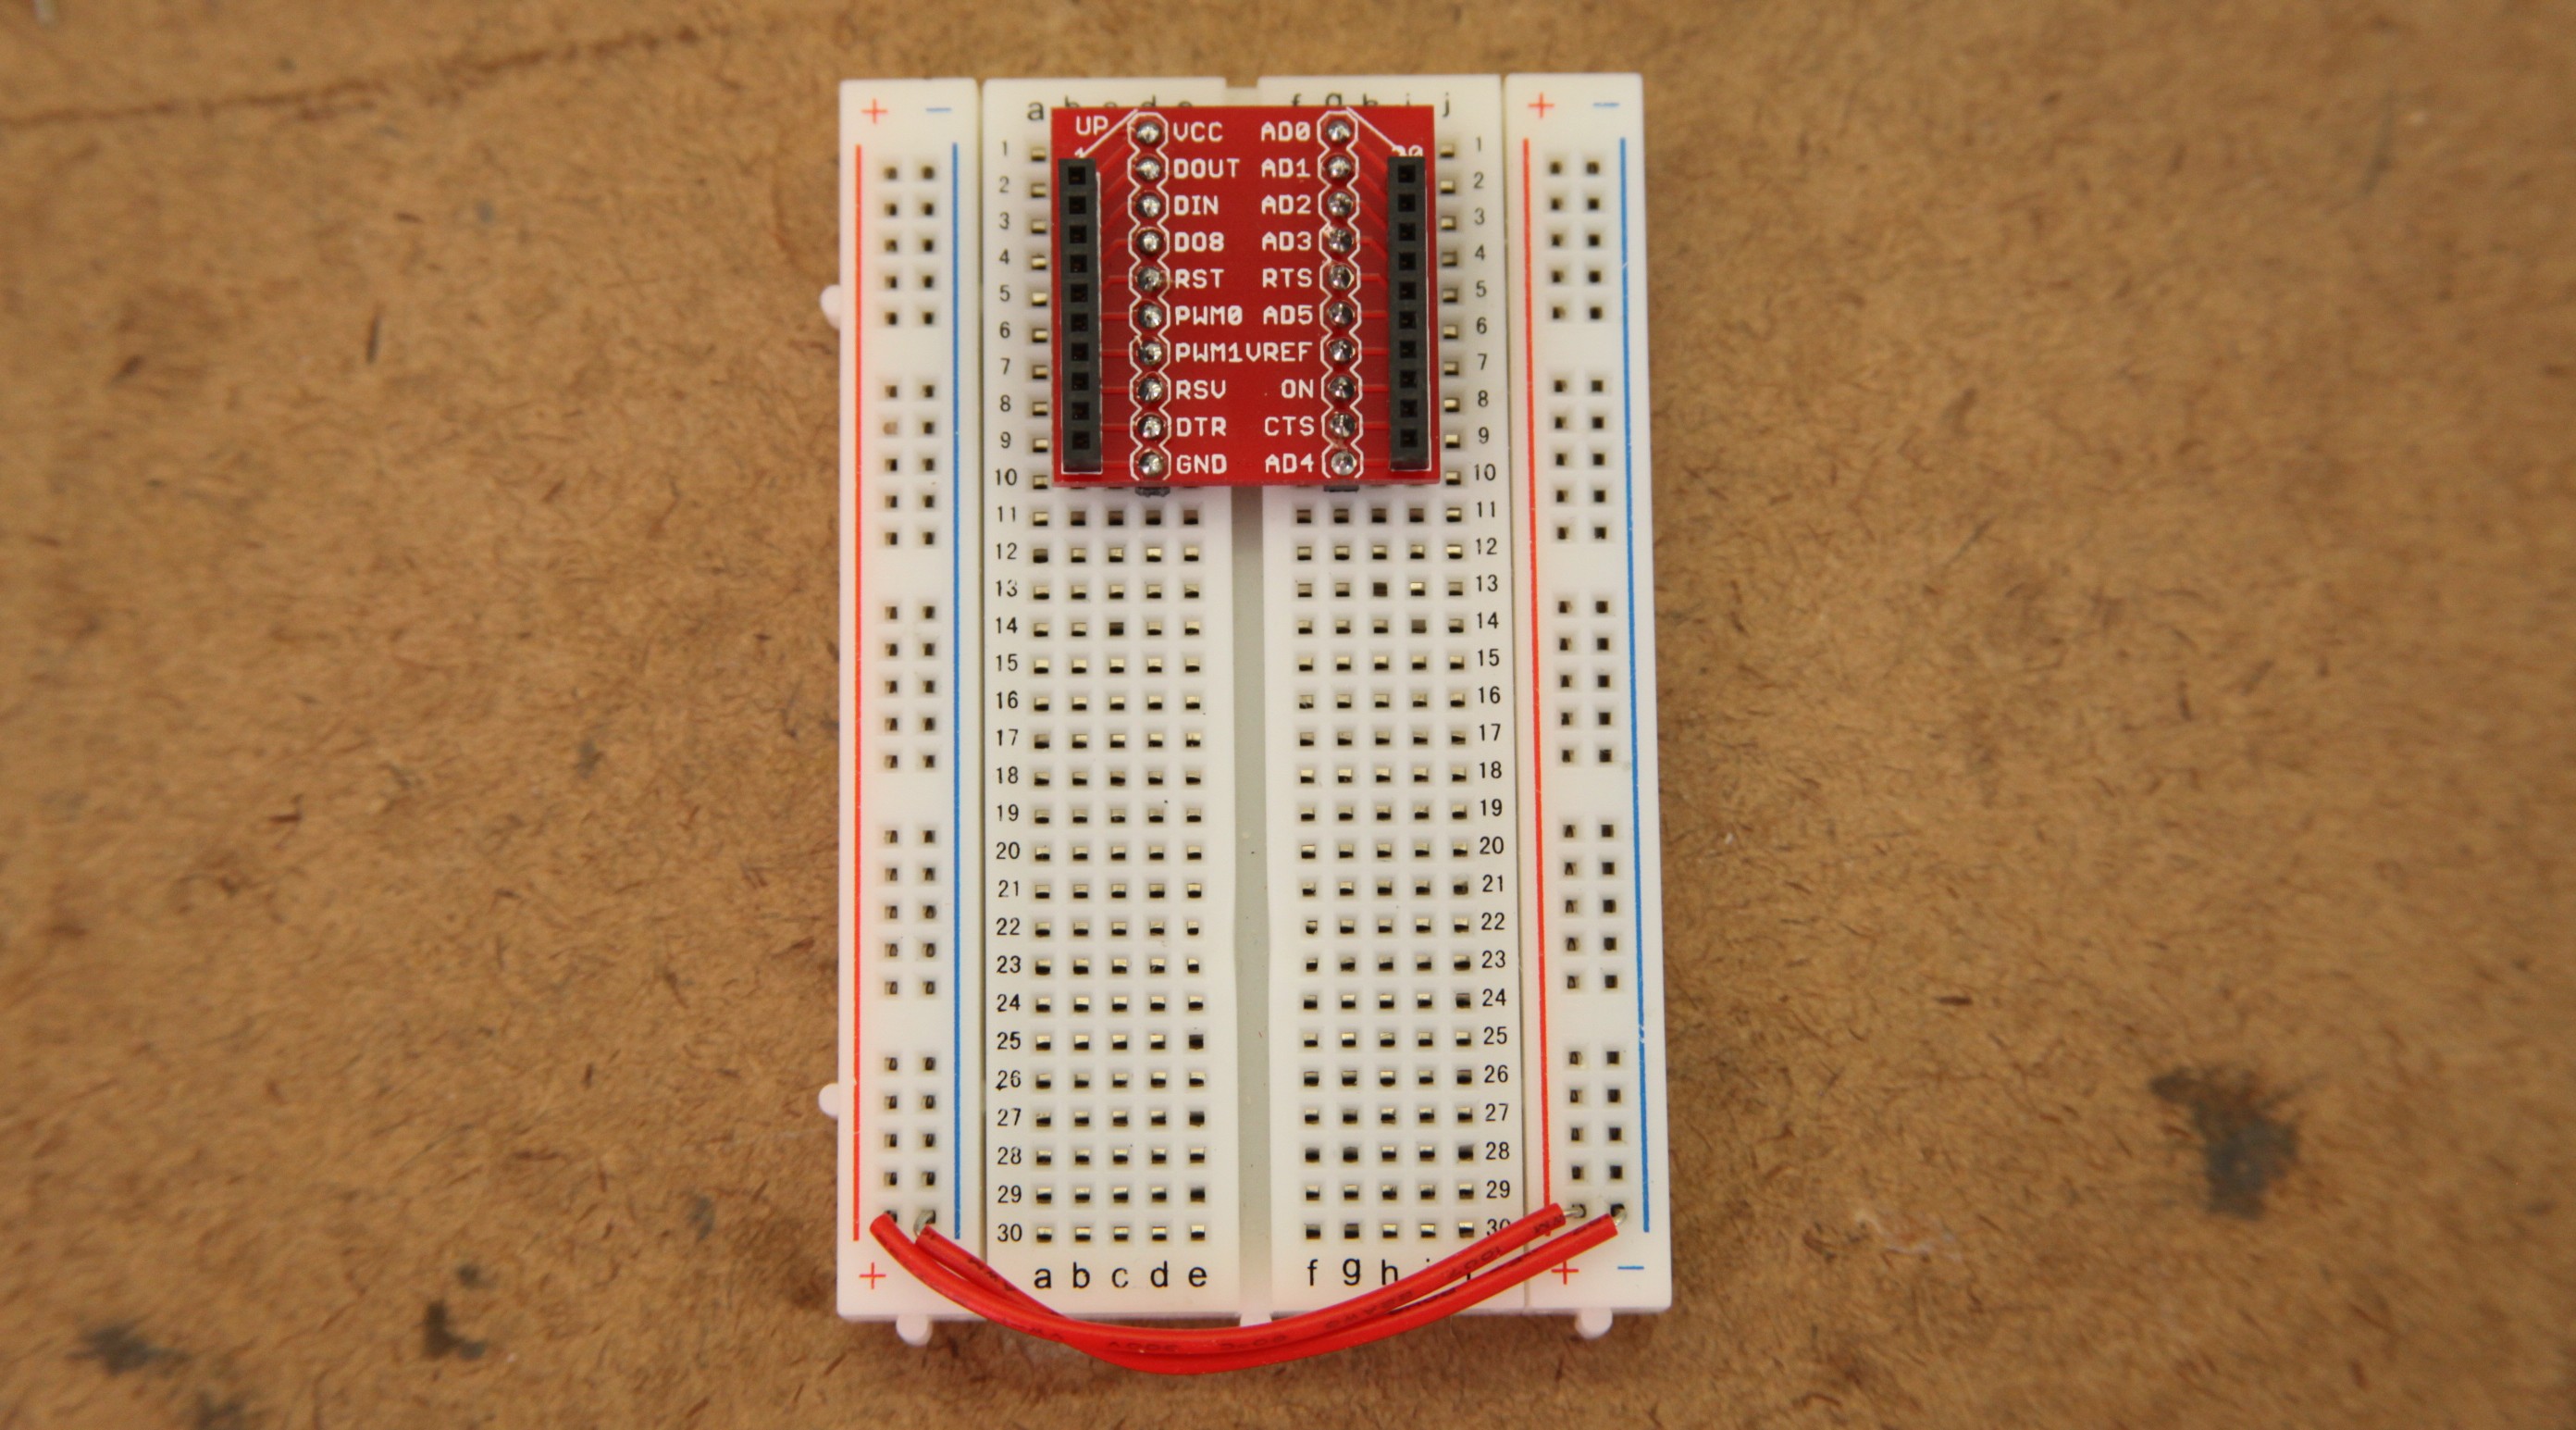
- Connect the VCC terminal of the XBee adapter to the positive rail and the ground terminal to the negative rail.
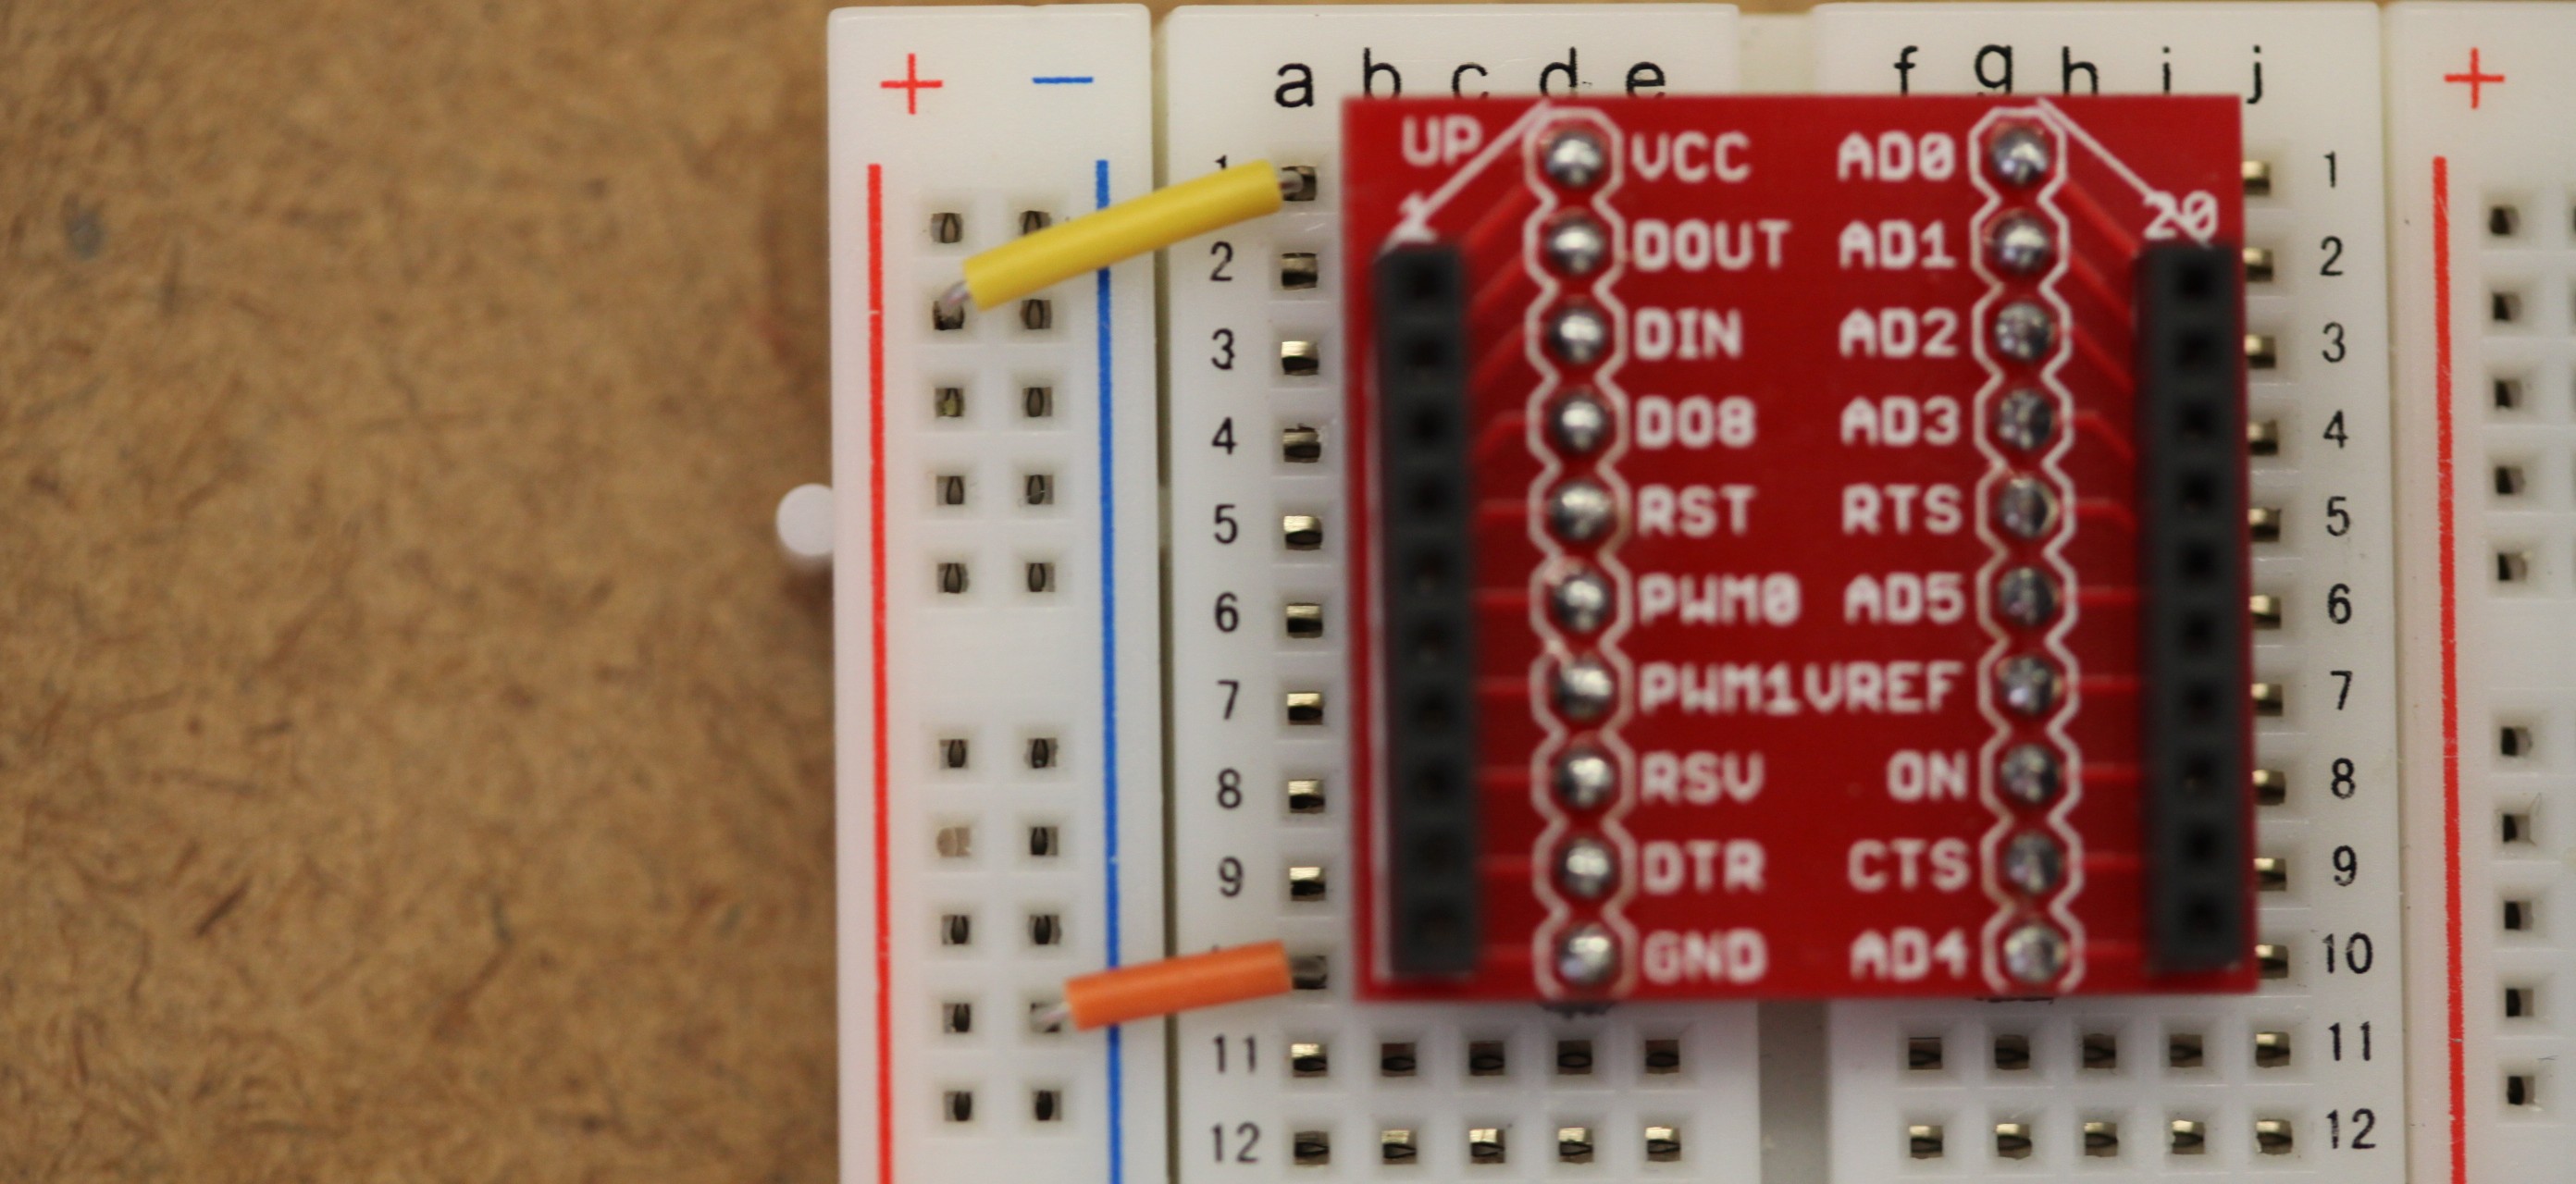
- Connect the VREF terminal of the XBee adapter to the positive rail. This will give the XBee a reference for what voltage an analog sensor is working with.
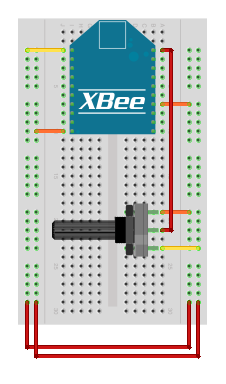
- The middle pin of the potentiometer gets connected to I/O pin 0, which is physical pin 20, on the top right side of the XBee. One of the outside pins of the potentiometer gets connected to the positive rail. The remaining potentiometer pin gets connected to the negative rail. Refer to the diagram above for the proper wiring.
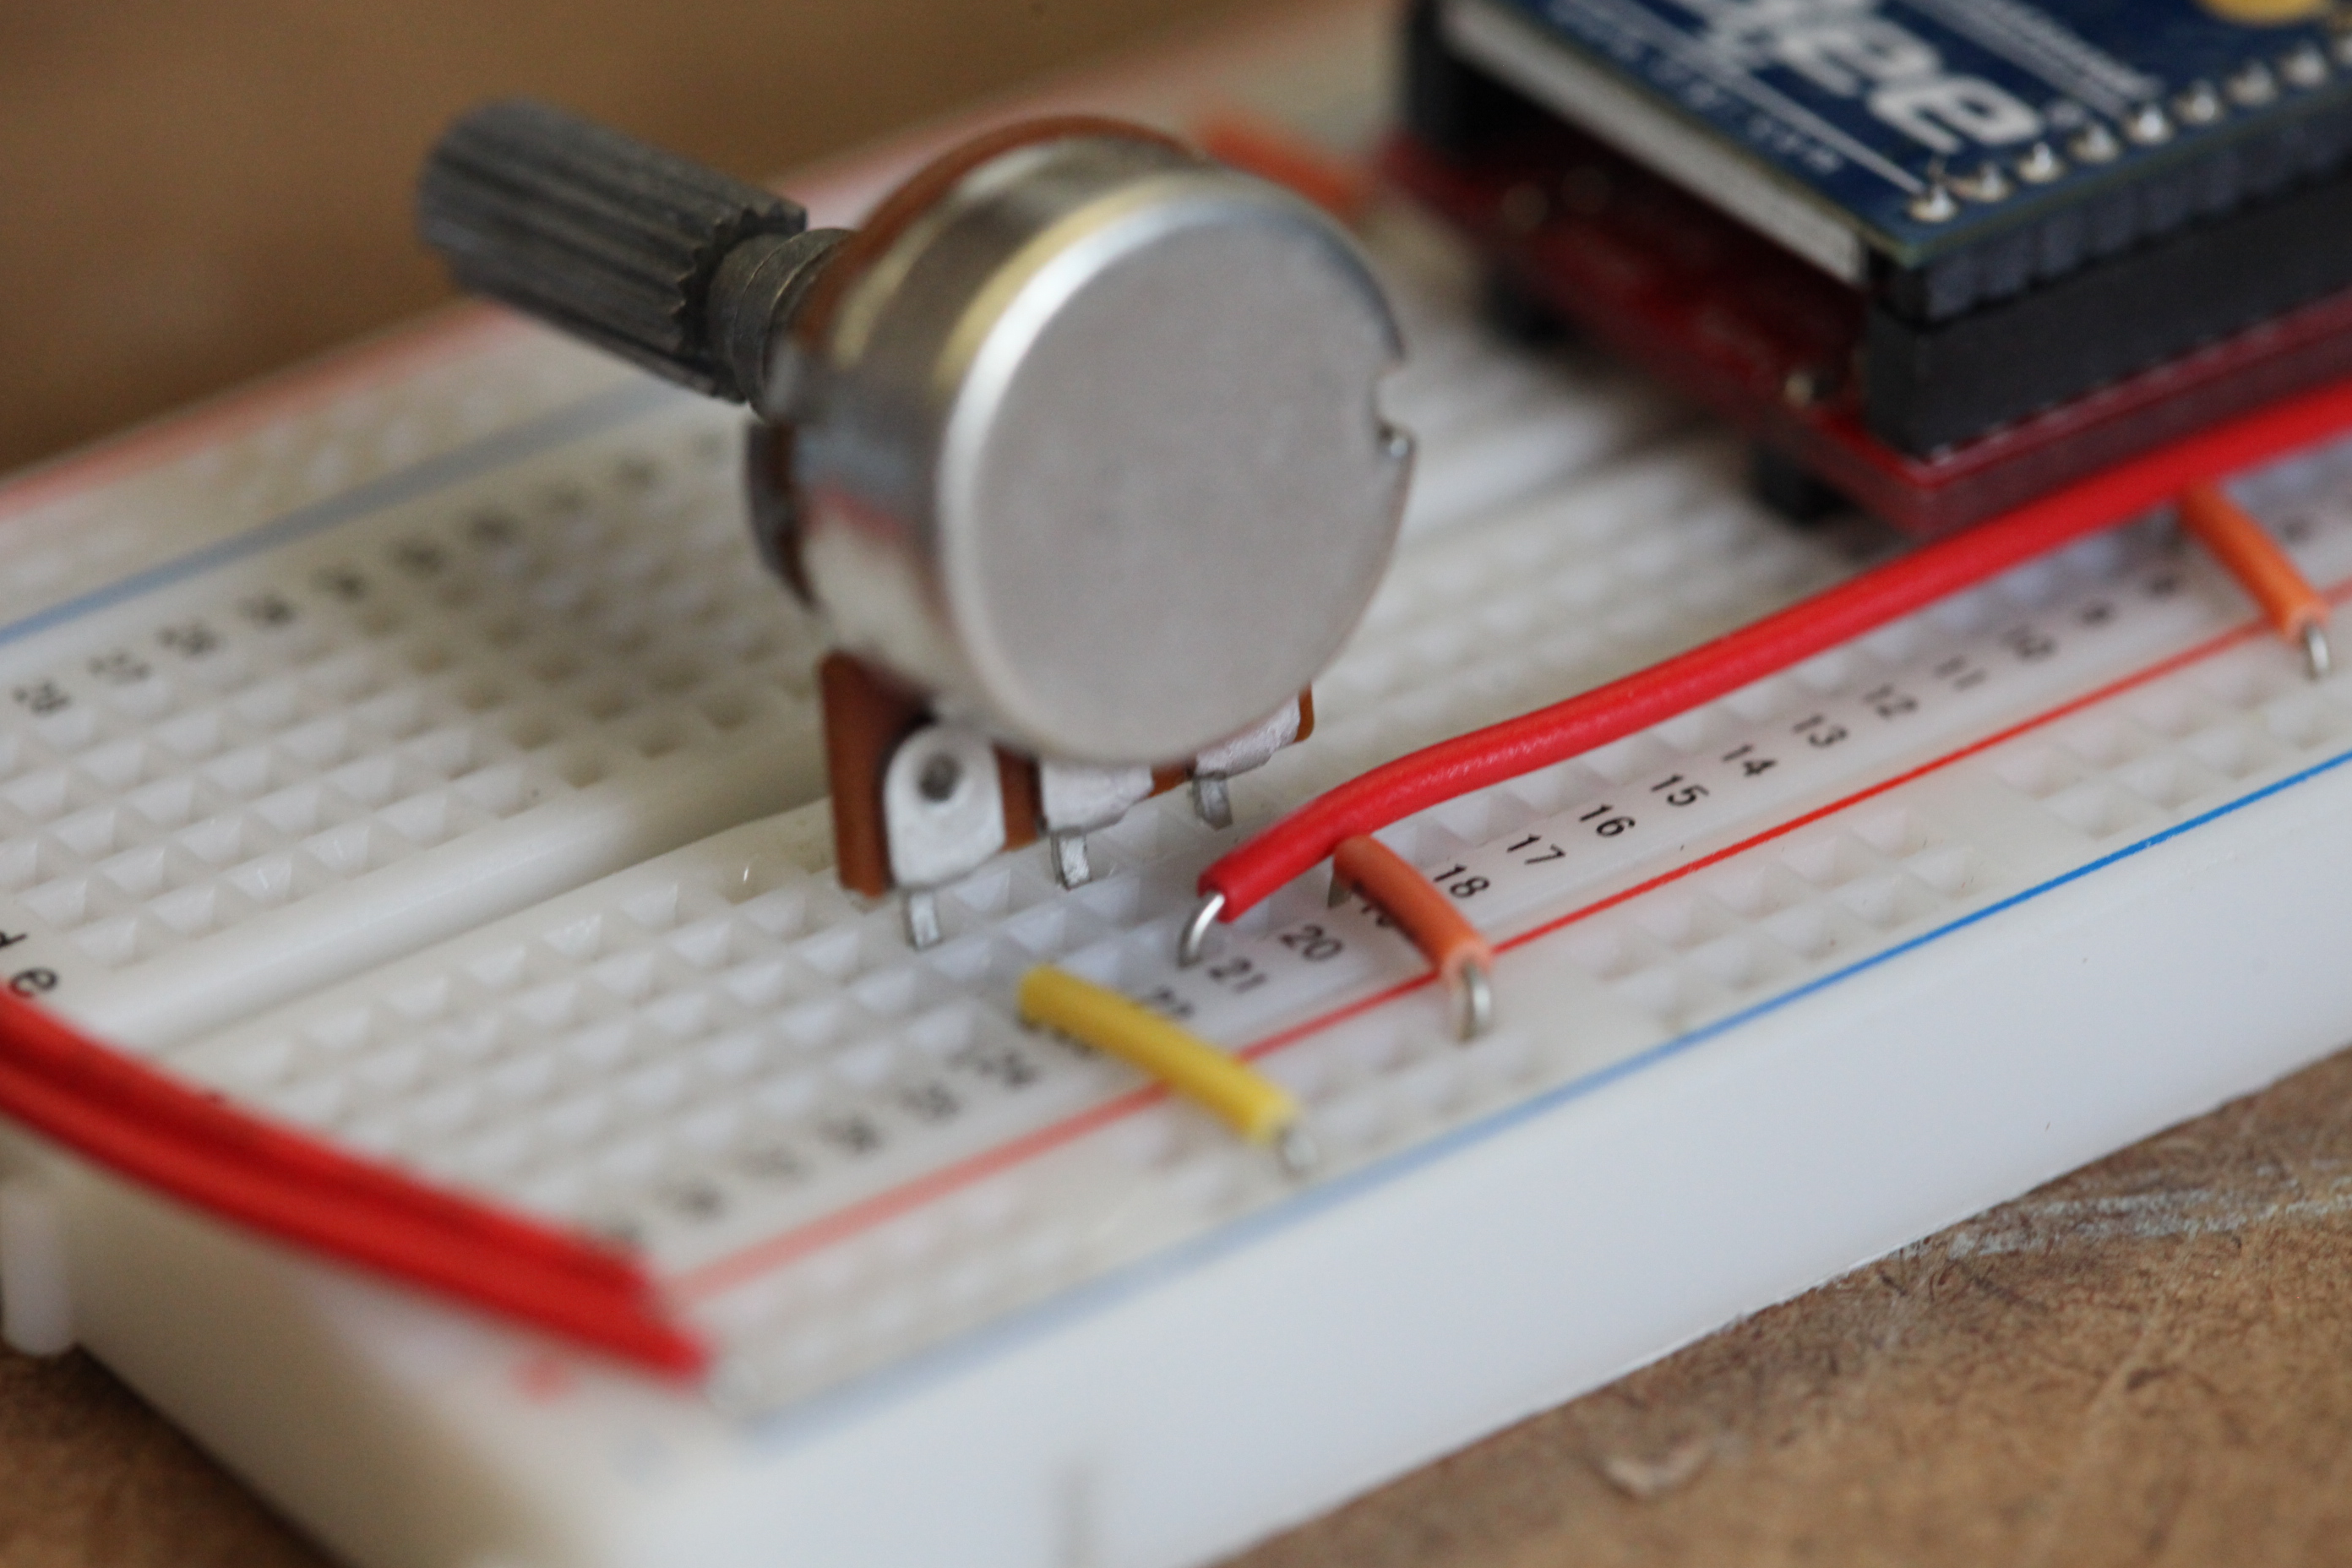
- When you insert the potentiometer, it will look like this.
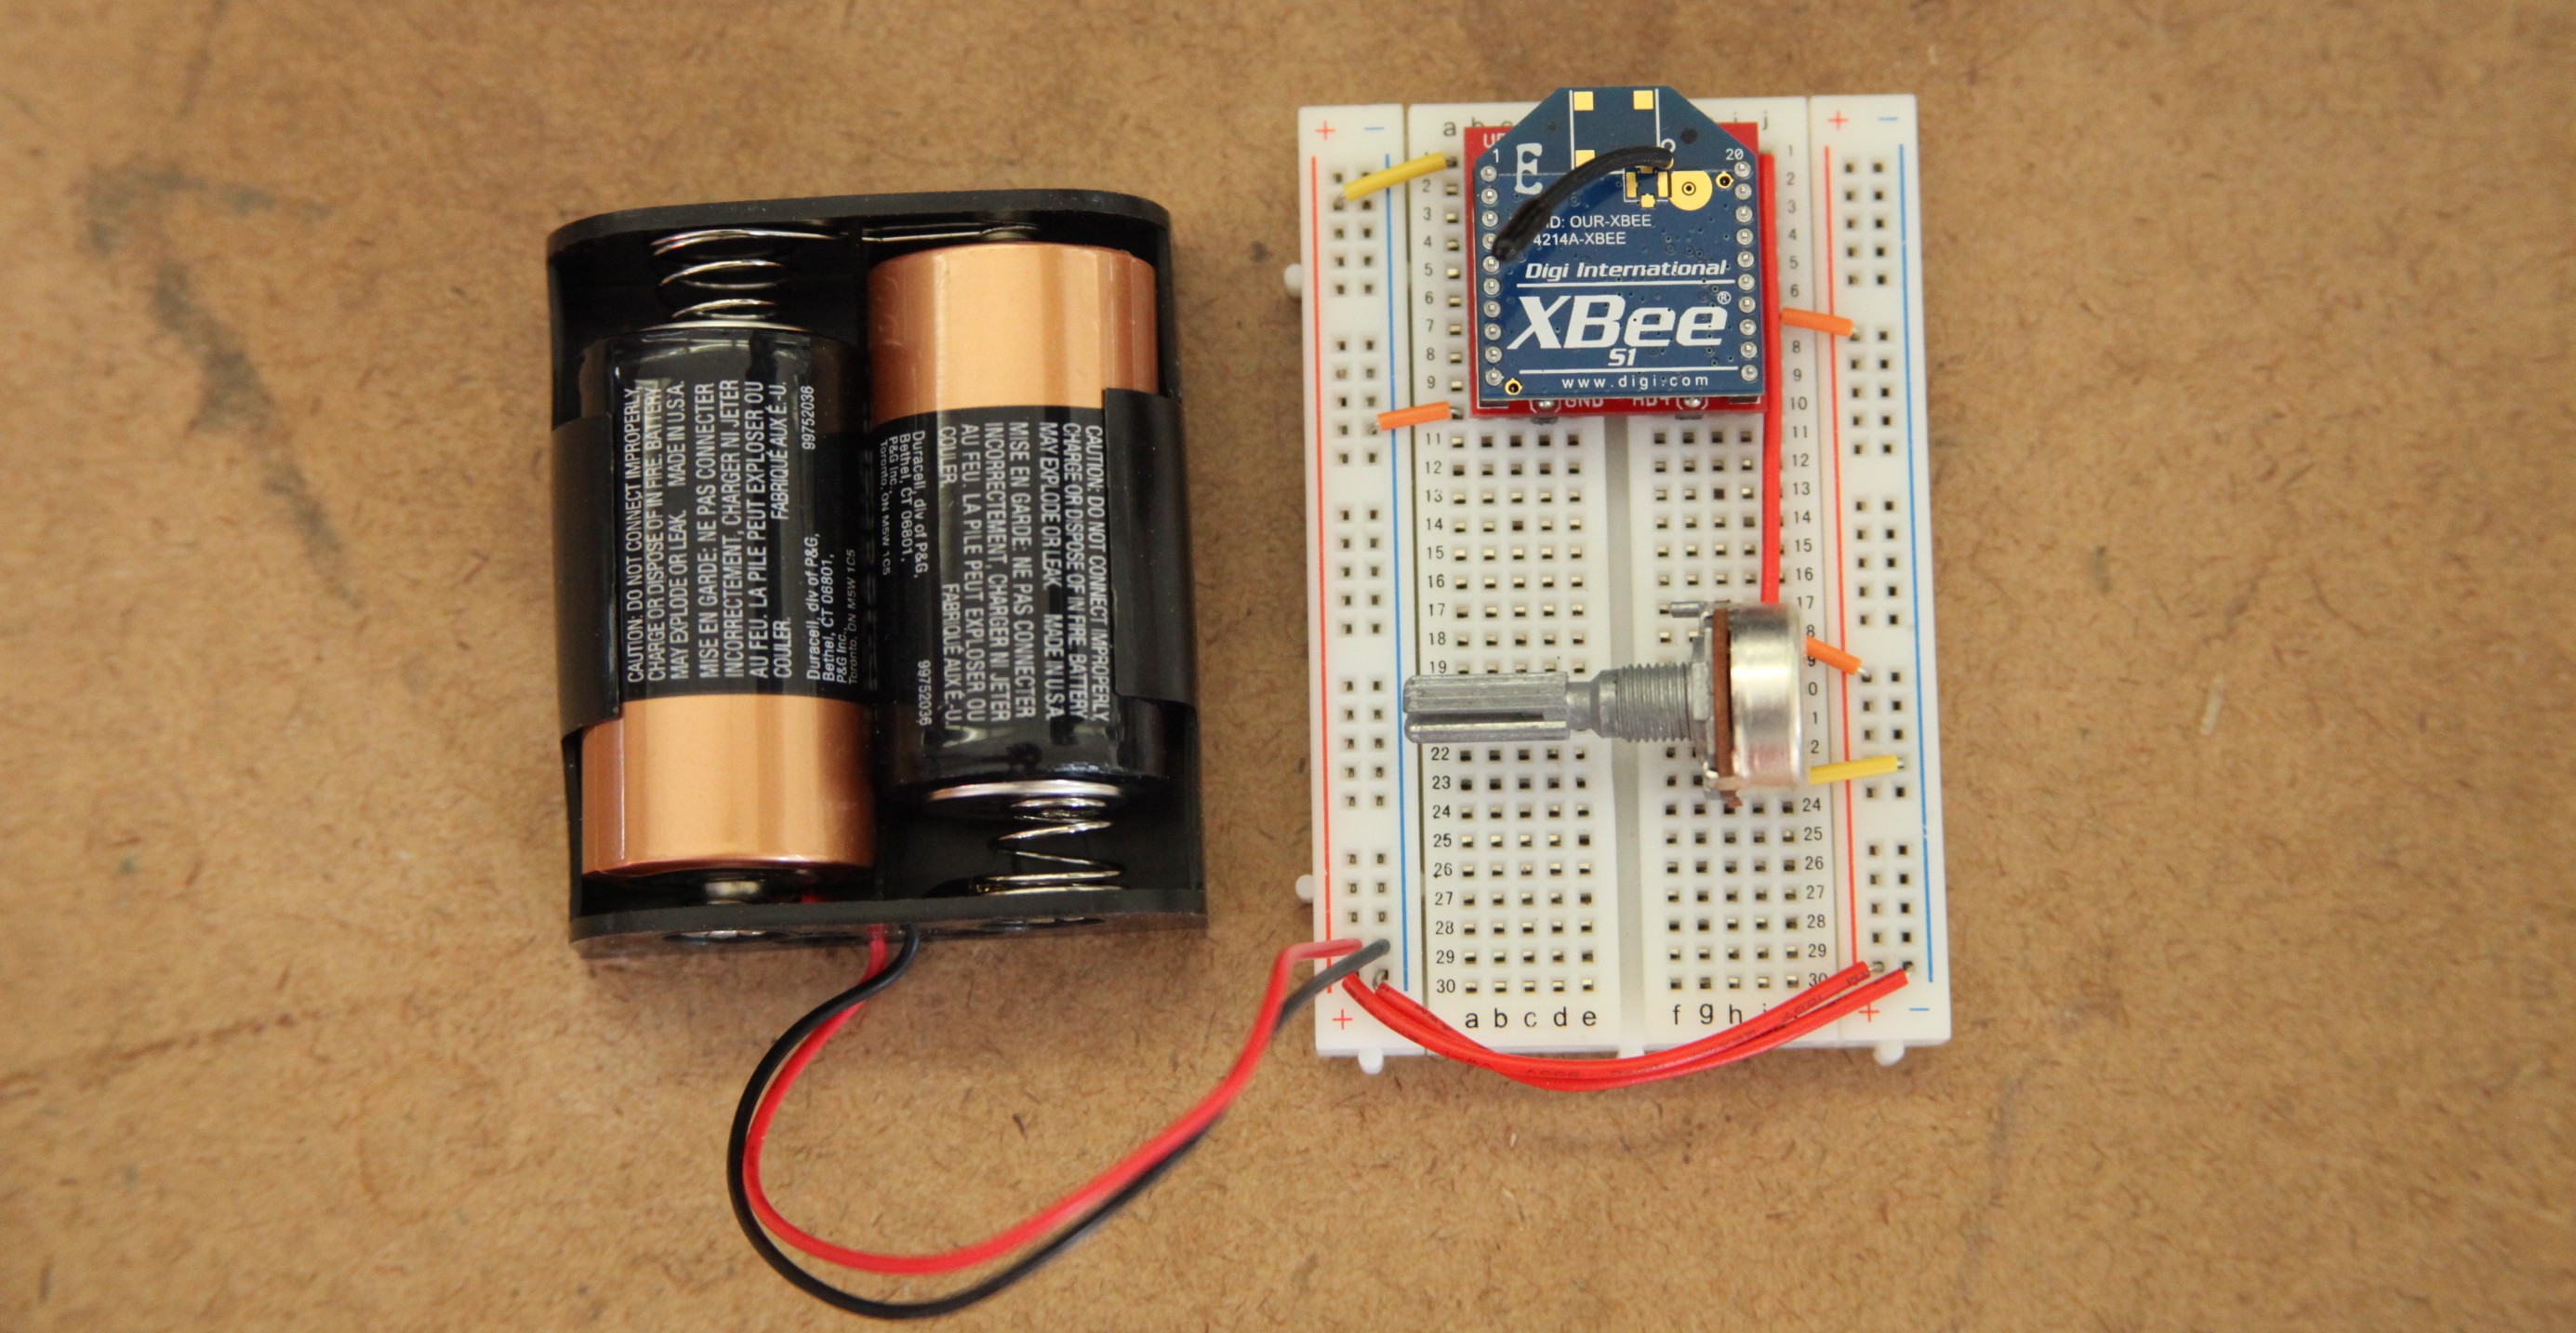
- Insert the XBee into the adapter.

- And finally, connect the battery pack.
5) Use it!
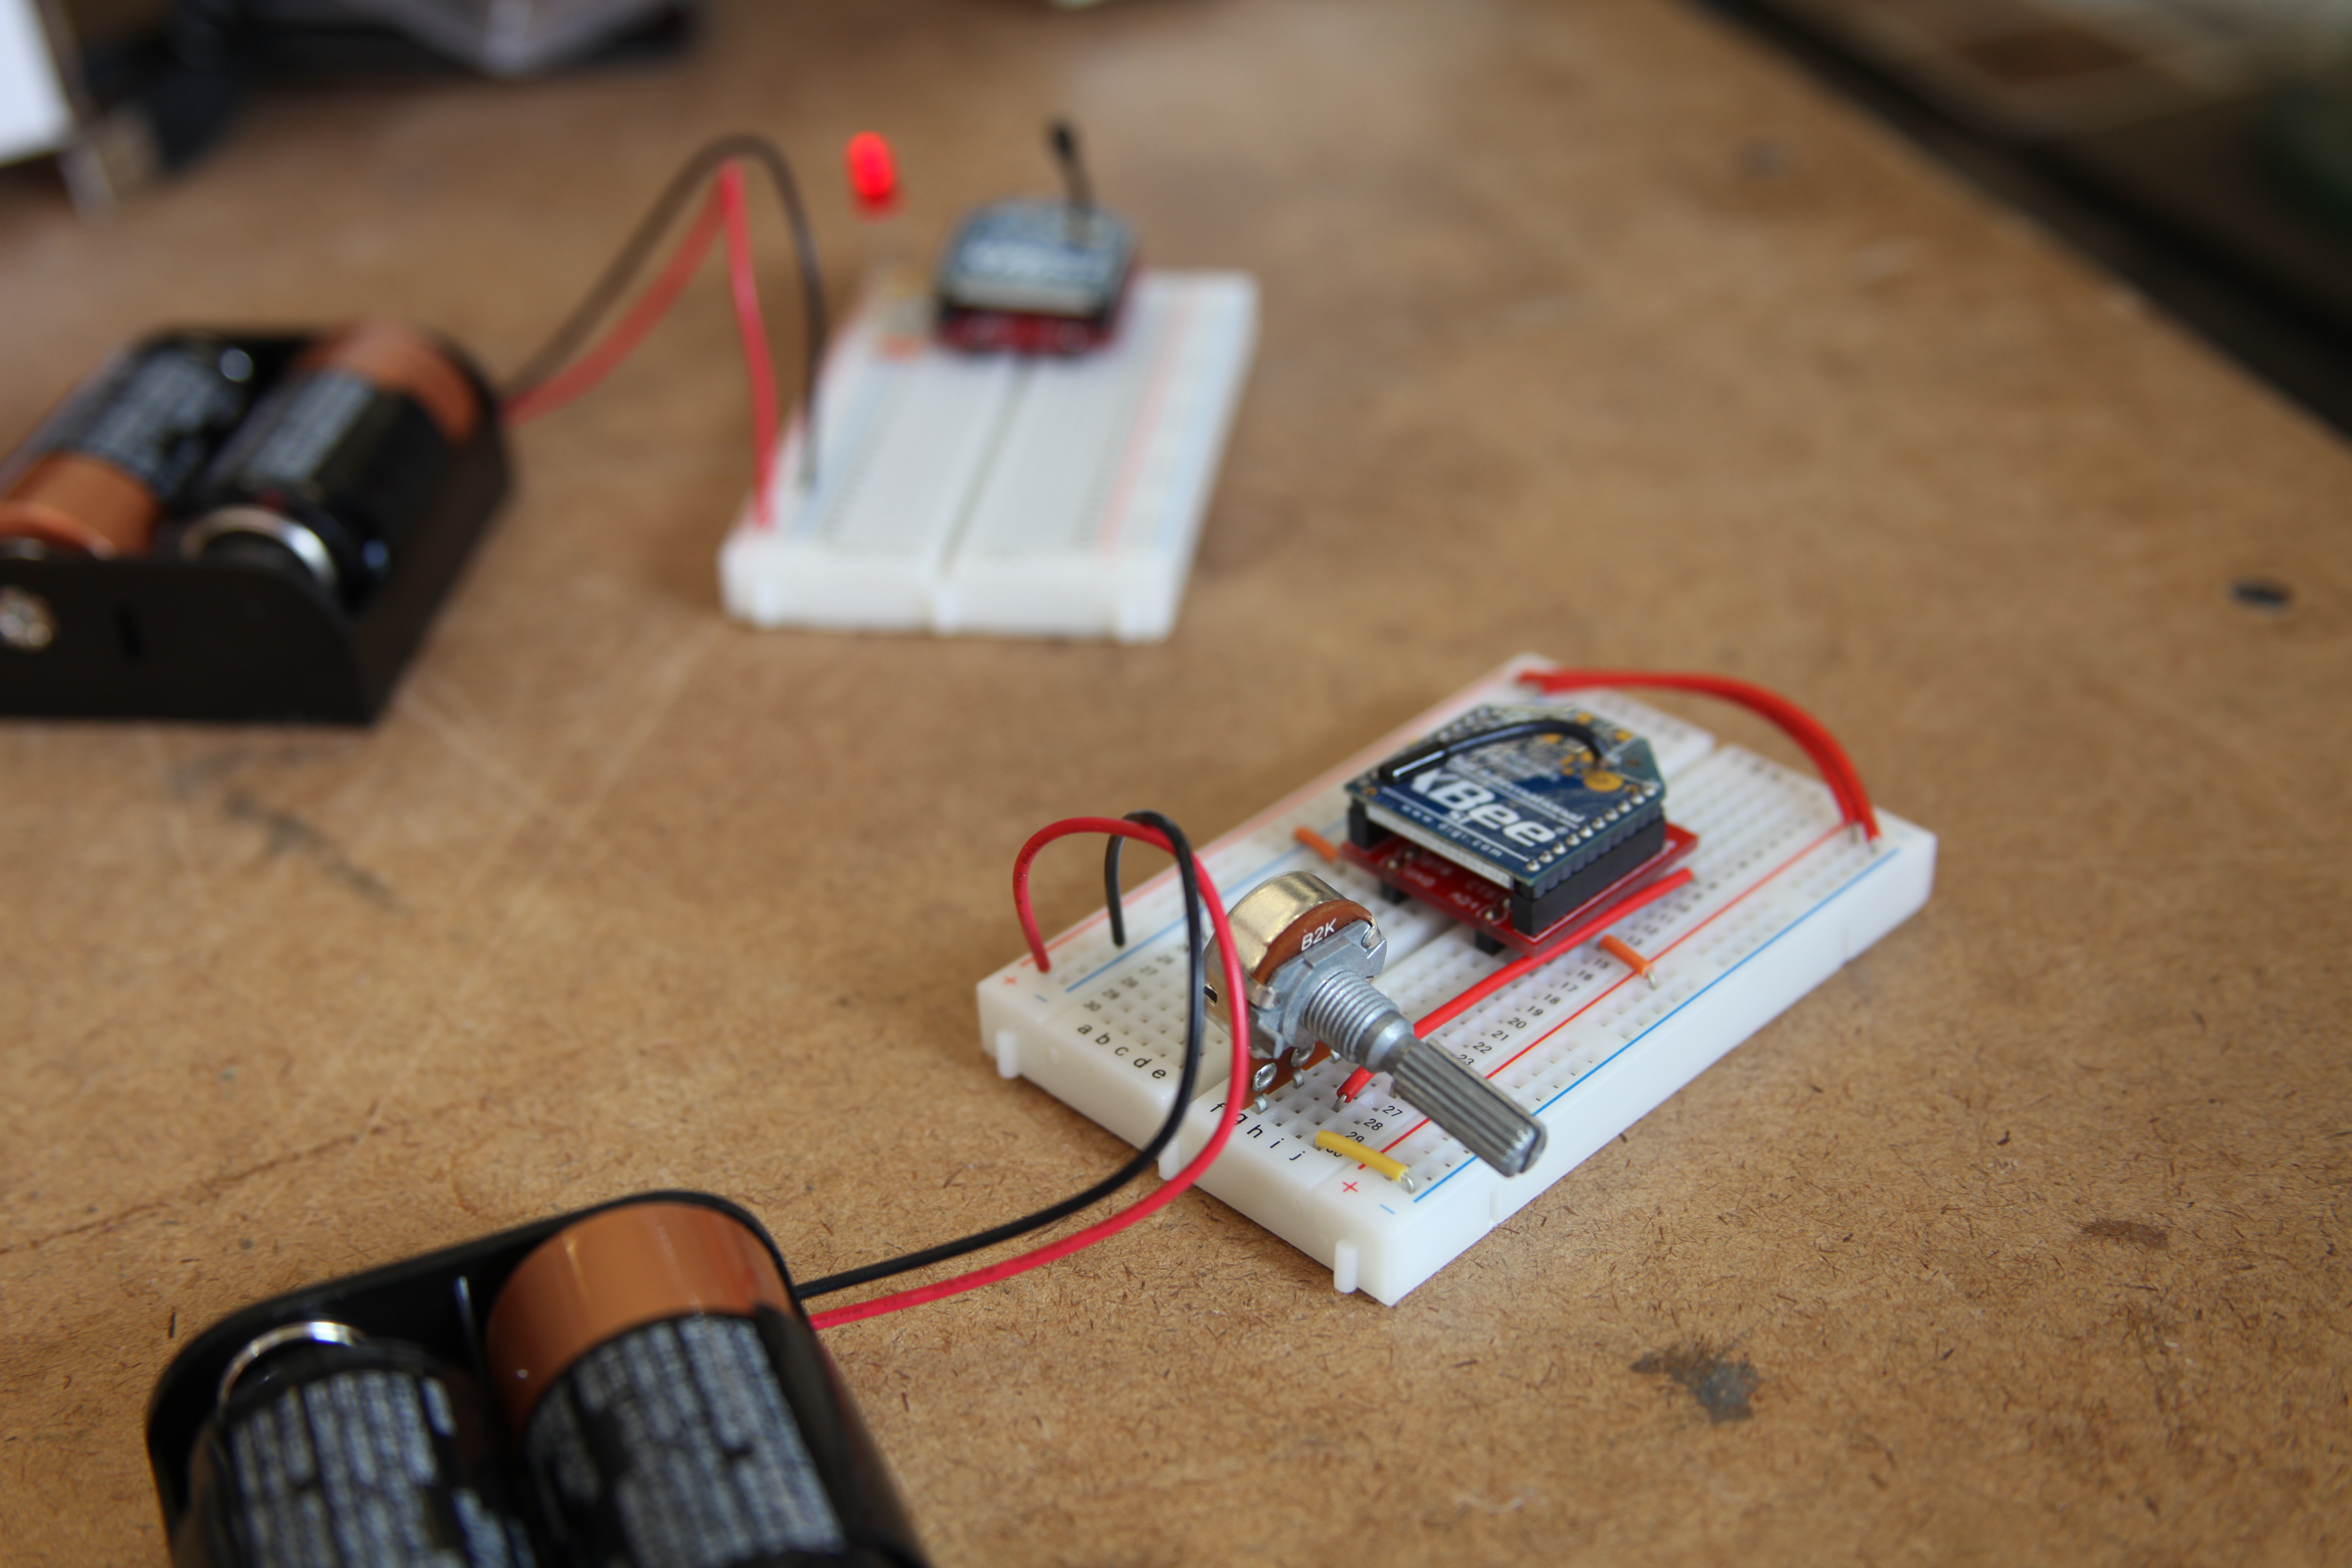
Now that you know how to connect a potentiometer to the analog input of an XBee radio, take a look at our output tutorials for what you can control. Just be sure that the the transmitter's address is set as the receiver's I/O input address setting (ATIA). The video above shows a wireless potentiometer connected to a wireless LED.